A Late 18th to Early 19th Century Shift
I based this shift off of Bernadette Banner's example. I decided to go with an off-white ecru/beige muslin fabric, rather than a linen, as she had made hers with. For my drawstring, I made a 5-strand braid out of a cotton twine that we had already.

The Shift:
Here is the schematic that Bernadette Banner provides in her video (linked above), I took a screenshot so that I could refer back to it more easily.

After washing my fabric and cutting all the pieces out, I followed Bernadette's measurements for the neck hole, 5.5" for each shoulder with the rest for the neck hole. The front has a depth of 4.5" while the back is 2 1/4" in depth. I rounded the corners of the neck hole.
In the future, I think I'll make the neck hole a bit smaller as the shift slides off my shoulders if the drawstring is not tied.
I split the gores into triangles then stitched the straight edges of the triangles together with a backstitch. Then I felled the seams.
Next, I sewed the gussets. I back-stitched one edge of the gusset square to one of the short edges of the sleeve (by the corner). Then I flipped it over and sewed the free edge to the other short sleeve edge. Then I stitched the rest of the sleeve length and felled all 3 seams. I didn't hem the sleeves as I had cut them on the selvedge edge of the fabric.
The next time I make a shift like this I think I'll make the gusset a bit larger, as where the sleeve meets the shoulder is a bit tight on me, though the sleeve itself fits me quite well around my upper arms.
Next up was the body. I sewed the gores onto the sides of the body piece, working from the body side, with a small back stitch. Then I felled starting from the top of the gore panels, felling one side over the other finished seam at the very top. As I had cut the body panel with the bottom edges on the selvedge, I didn't need to hem these areas. But the gores were not cut on the selvedge so I did hem these with a simple running stitch to match the height of the rest of the bottom edge of the body.
Then I attached the sleeves to the body and felled to the body side, which considering it was my first time doing sleeves went relatively smoothly. As I mentioned earlier, the sleeve/shoulder area is a bit tight especially in the underarm area.
The neck was next. I did a small 1/4" hem using a felling-like stitch around the entire neckline, which looks very nice and neat.
Finally the drawstring casing! I pinned the casing on to make sure the ends lined up where I wanted them to- starting with the two fronts then the back and the two shoulders. Following Bernadette's example, I running-back-stitched this on 1/2" down from the neck edge beginning at the center front about 1/4" down from the top of the casing edge. Then I turned the casing over this seam, over top the drawstring cord, folded the bottom edge inside/underneath, and felled the casing down.
I finished with two small eyelet holes (my first ever!) at center front and ran the drawstring cord through them.
The Drawstring:
The drawstring/cord was very simple to make, and I really like how it looks with the rest of the shift. It is a simple 5-strand braid - the outermost strand going over two strands and continuing on until you run out of length - made out of a relatively soft cotton twine.

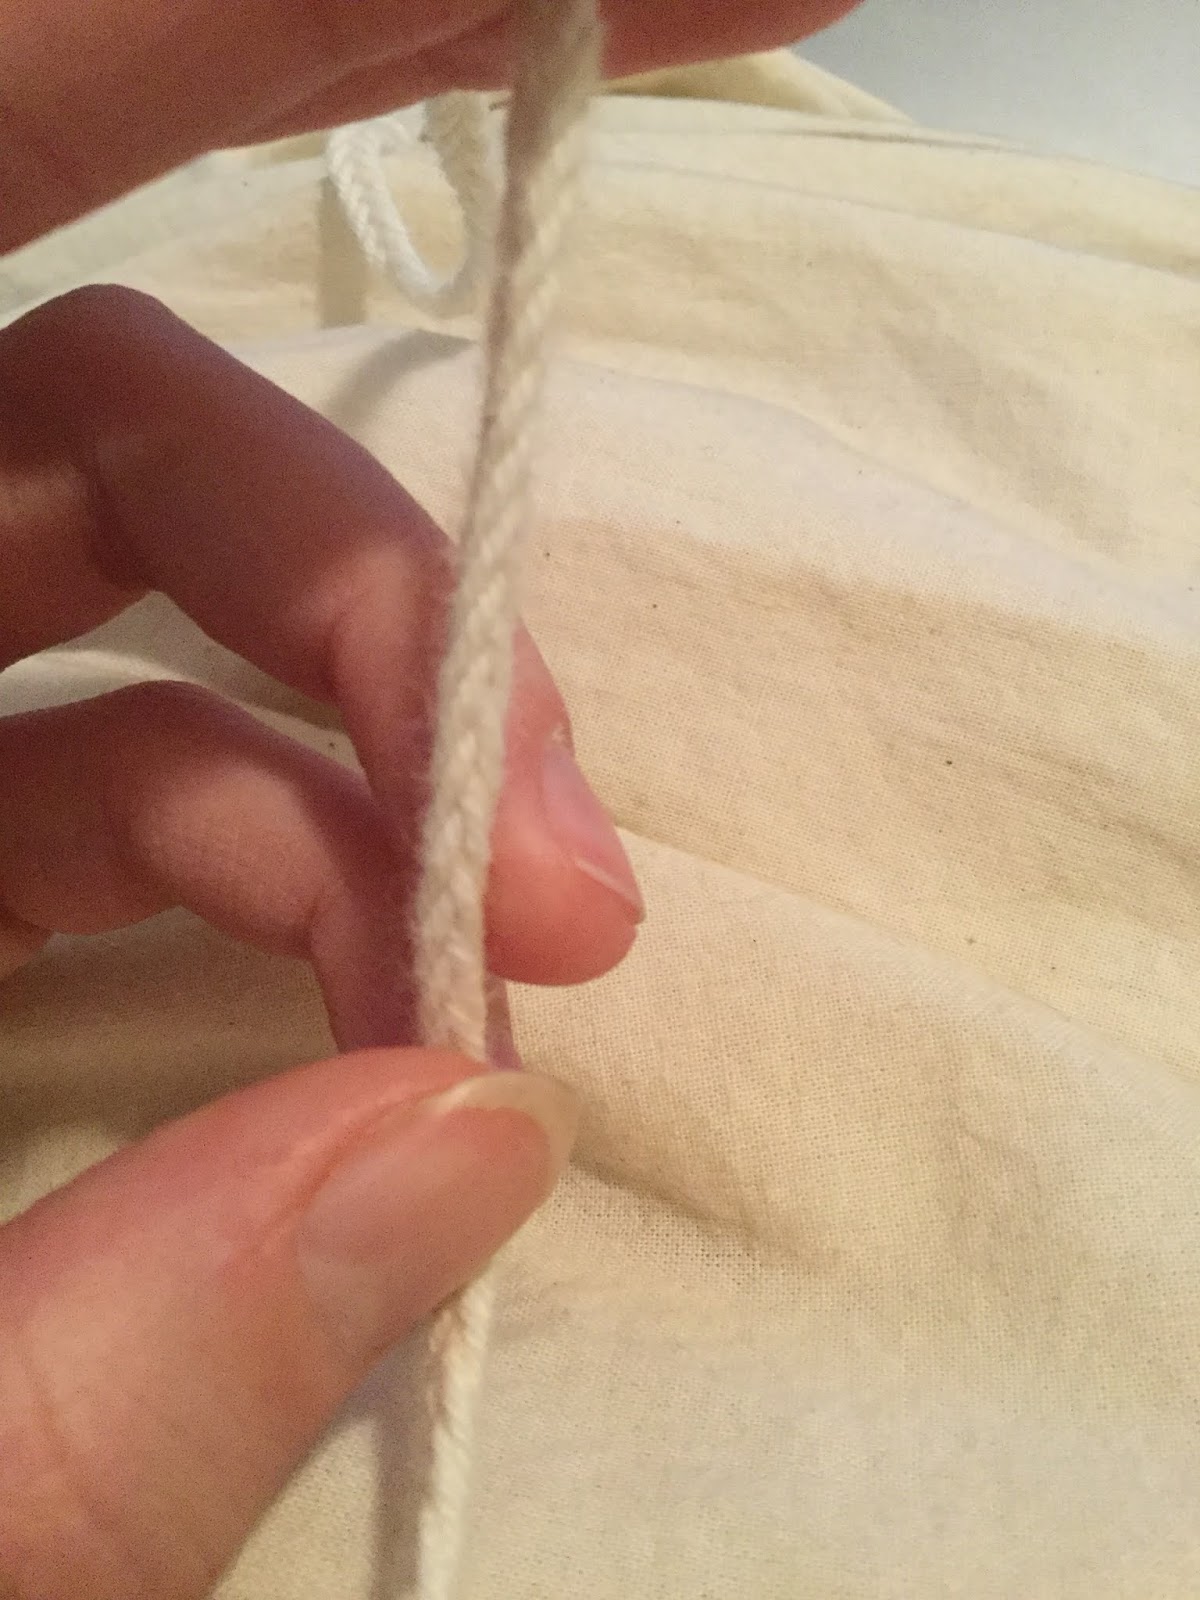

I started with strands that were probably around 6 feet long and ended up with a cord around 5 feet long. It is a bit stretchy, but not overly so.
Overall, I'm very happy with my shift! It hits me where I wanted- my calf - and I can alter how the neckline sits due to the drawstring. It is very comfortable and I'm glad that I went with the ecru/beige rather than a pure white. The muslin is a bit heavier so I would like to make one in a lighter weight, and probably a different style.
As I mentioned above, the sleeve/underarm area doesn't fit me super comfortably. Also, when I was stitching the drawstring casing on I wasn't as careful about smoothing the body fabric out to prevent sewing in wrinkles. Which, although it does add to the ruffled/gathered edge look, I know those wrinkles are there and it doesn't look great when it's not gathered in by the drawstring.
I recently washed it (in the washing machine) and it washed beautifully. It shrunk a teeny bit and the drawstring cord tightened a little (which makes it look very nice), but other than that it looks great.
What I learned: how to fell, how to do gussets, how to do (one style of) sleeves, how to do a 5-strand braid, how to do a drawstring casing, how to hem, how to do eyelets

Comments
Post a Comment